
And here we are, down to the final two blog posts. Now, I’m one for sentiment, but let’s leave that for the final blog post. For now, let’s get right into it, because we got a lot to talk about in this one.
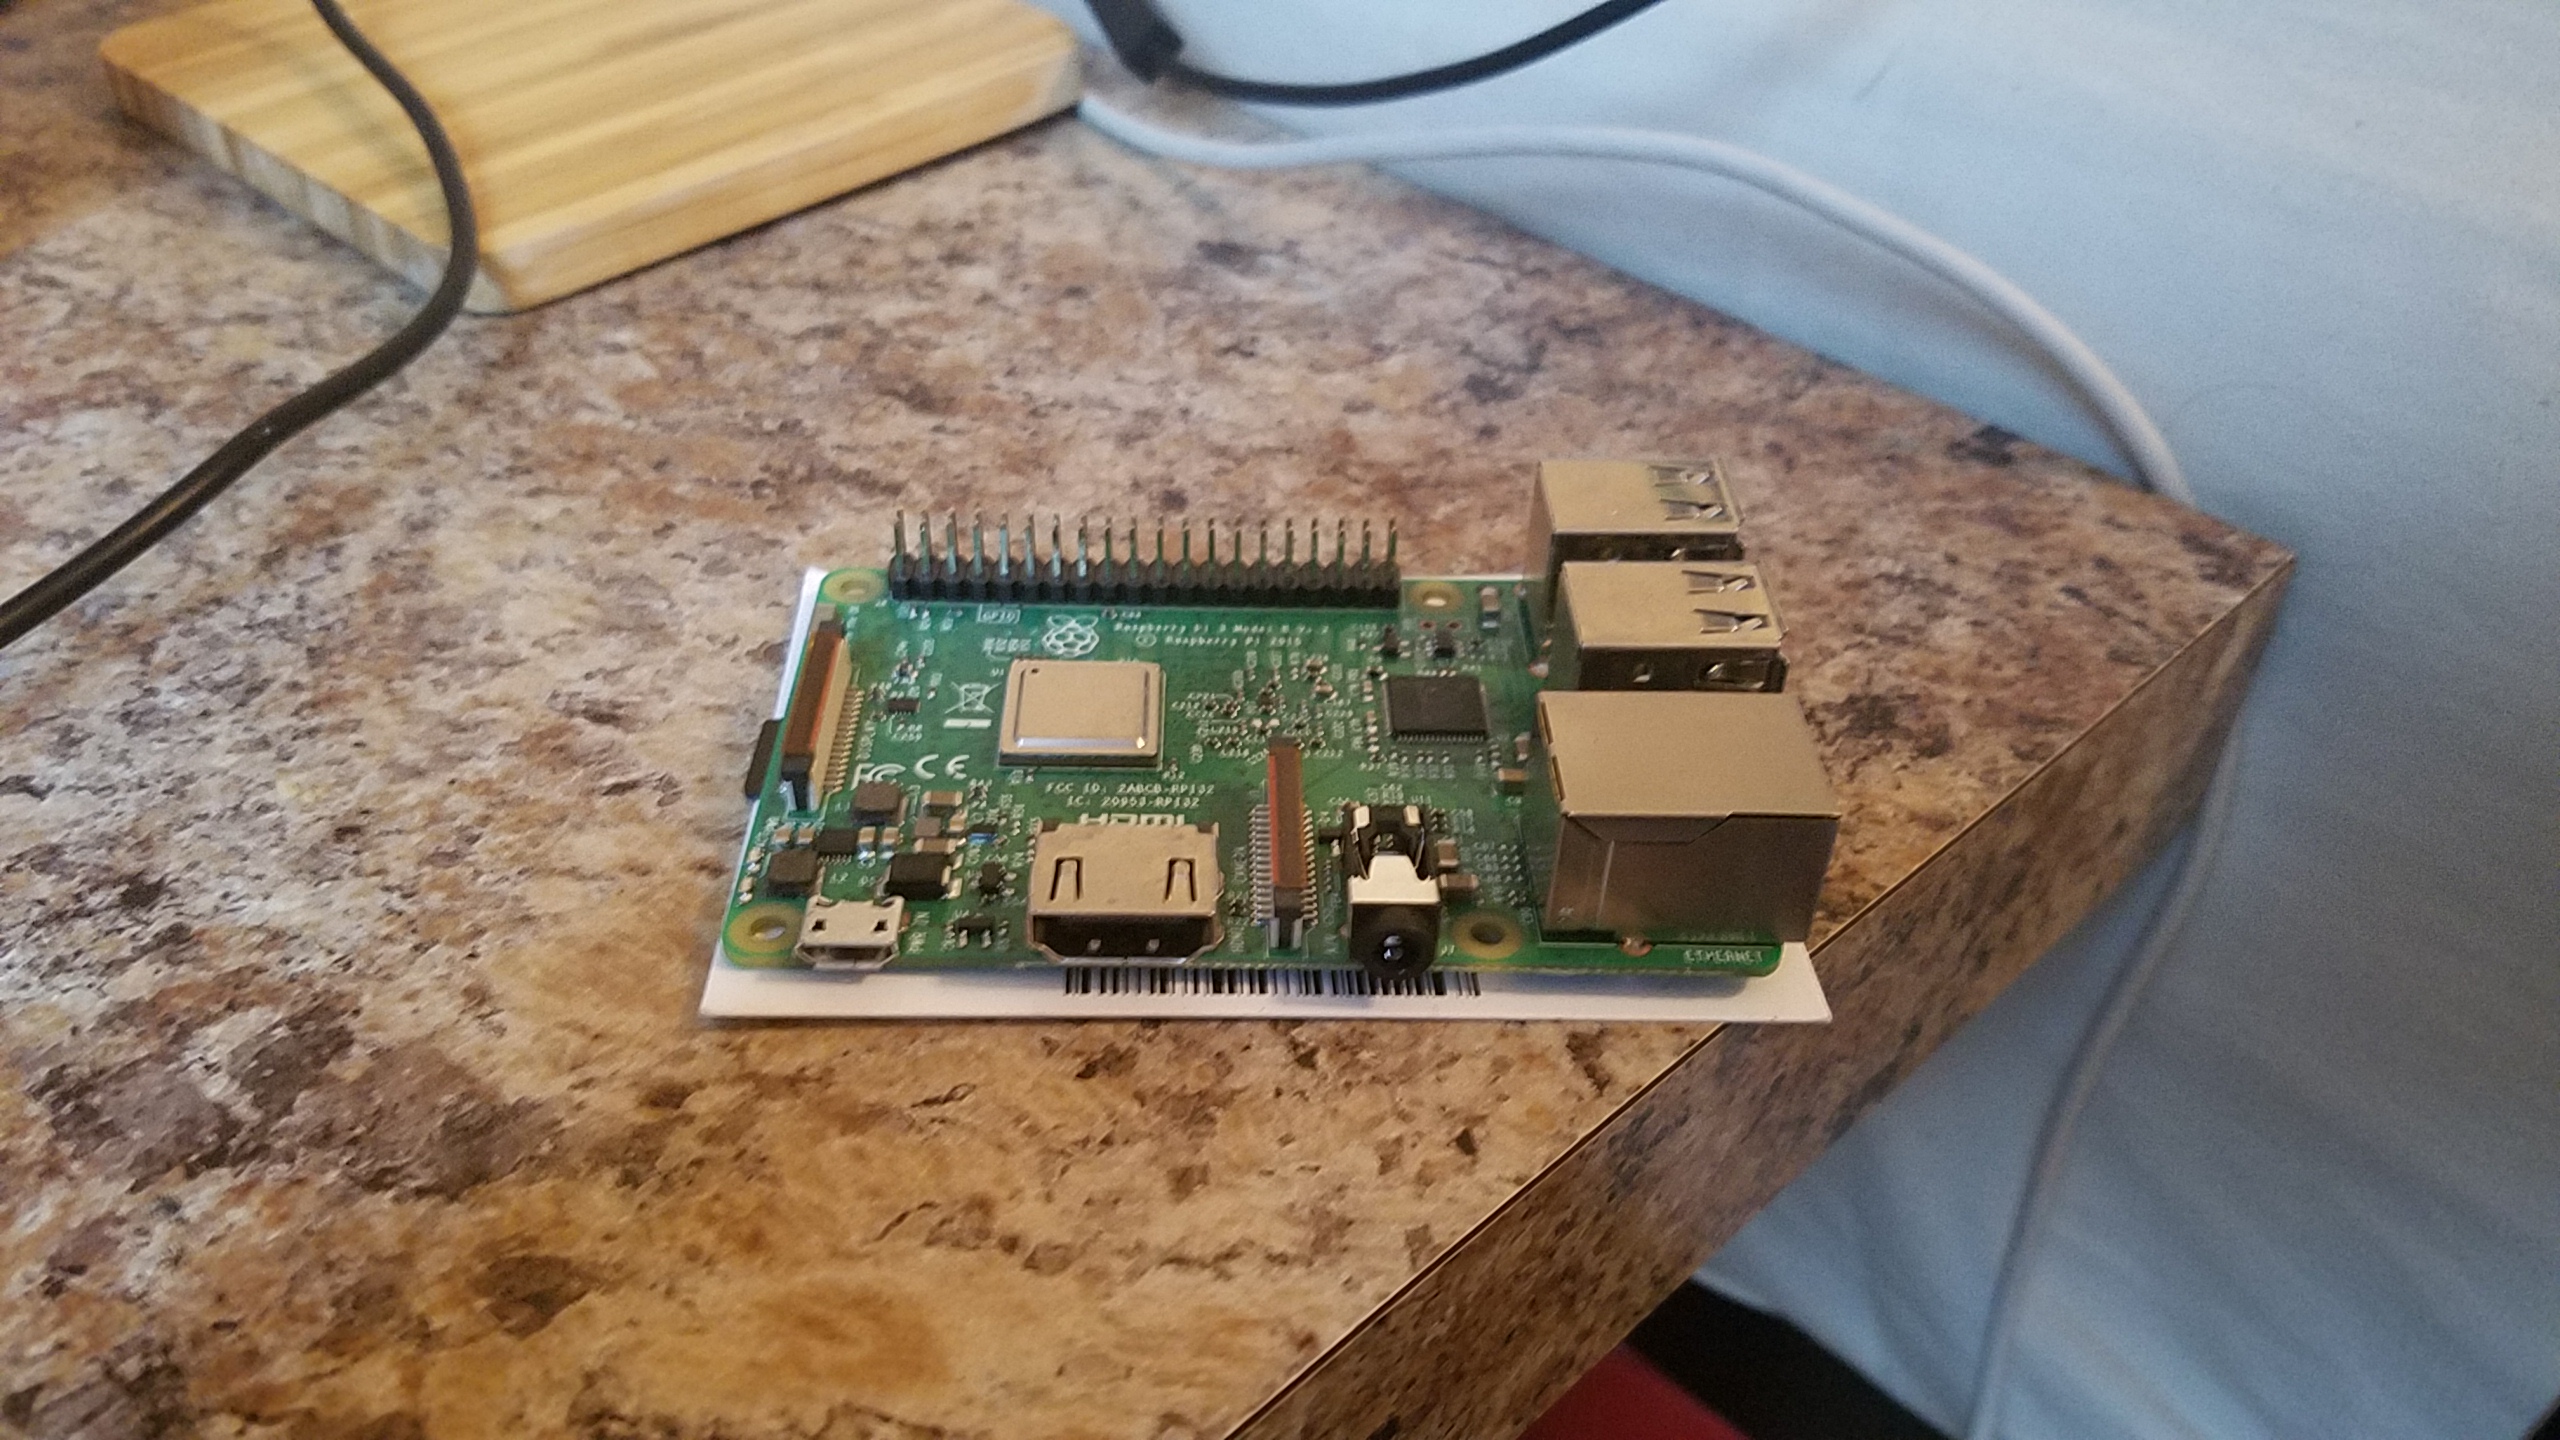
Ah Raspberry Pi, an awesome thirty five dollar computer the size of a credit card that can do oh so much. Before this assignment, I had been looking into getting a Raspberry Pi for quite a while, but never had an excuse to go out and purchase one, so when professor von Hollen assigned us this project, I was more than a little excited. I mean, it’s a credit card sized computer that could give a full desktop experience! And there is so much more you can do with it too, such as creating your own multimedia machine or making a server for your favorite video game.
I my Pi journey by uploading NOOBS on a microSD card after formatting it with SDFormatter, which was fairly easy as von Hollen gives pretty detailed instructions on how to do so. After turning on my Pi, I used the NOOBS software to install Raspbian for my Pi, just to see a sample of what this thing could do, and man, was I impressed. First off this OS came bundled with an early version of Minecraft, so that’s automatically 10 points to Pi. Since Raspbian is a Linux distro, I decided to do what all prominent programmers should when installing a new OS: make a ‘Hello World’ program. After that bit was done, I did some general we browsing to see how the Pi could handle day-to-day tasks, which, to its credit, it did fairly well. I only noticed some slowdown when trying to use more strenuous web applications such as YouTube.
From there, I had to come up with something much more useful for the Pi. My initial though was to turn the Pi into a Minecraft server for me and my friends, but after looking up some guides on how to do it, I realized the Pi 3 could only support older versions of Minecraft, and not the latest release, so I scrapped the idea. I then though about turning it into a multimedia machine so I could turn a TV into a smart TV, but I already had one in my house, and realized it wouldn’t be of much use to me. So, I decided on something more fun, a retro game device!
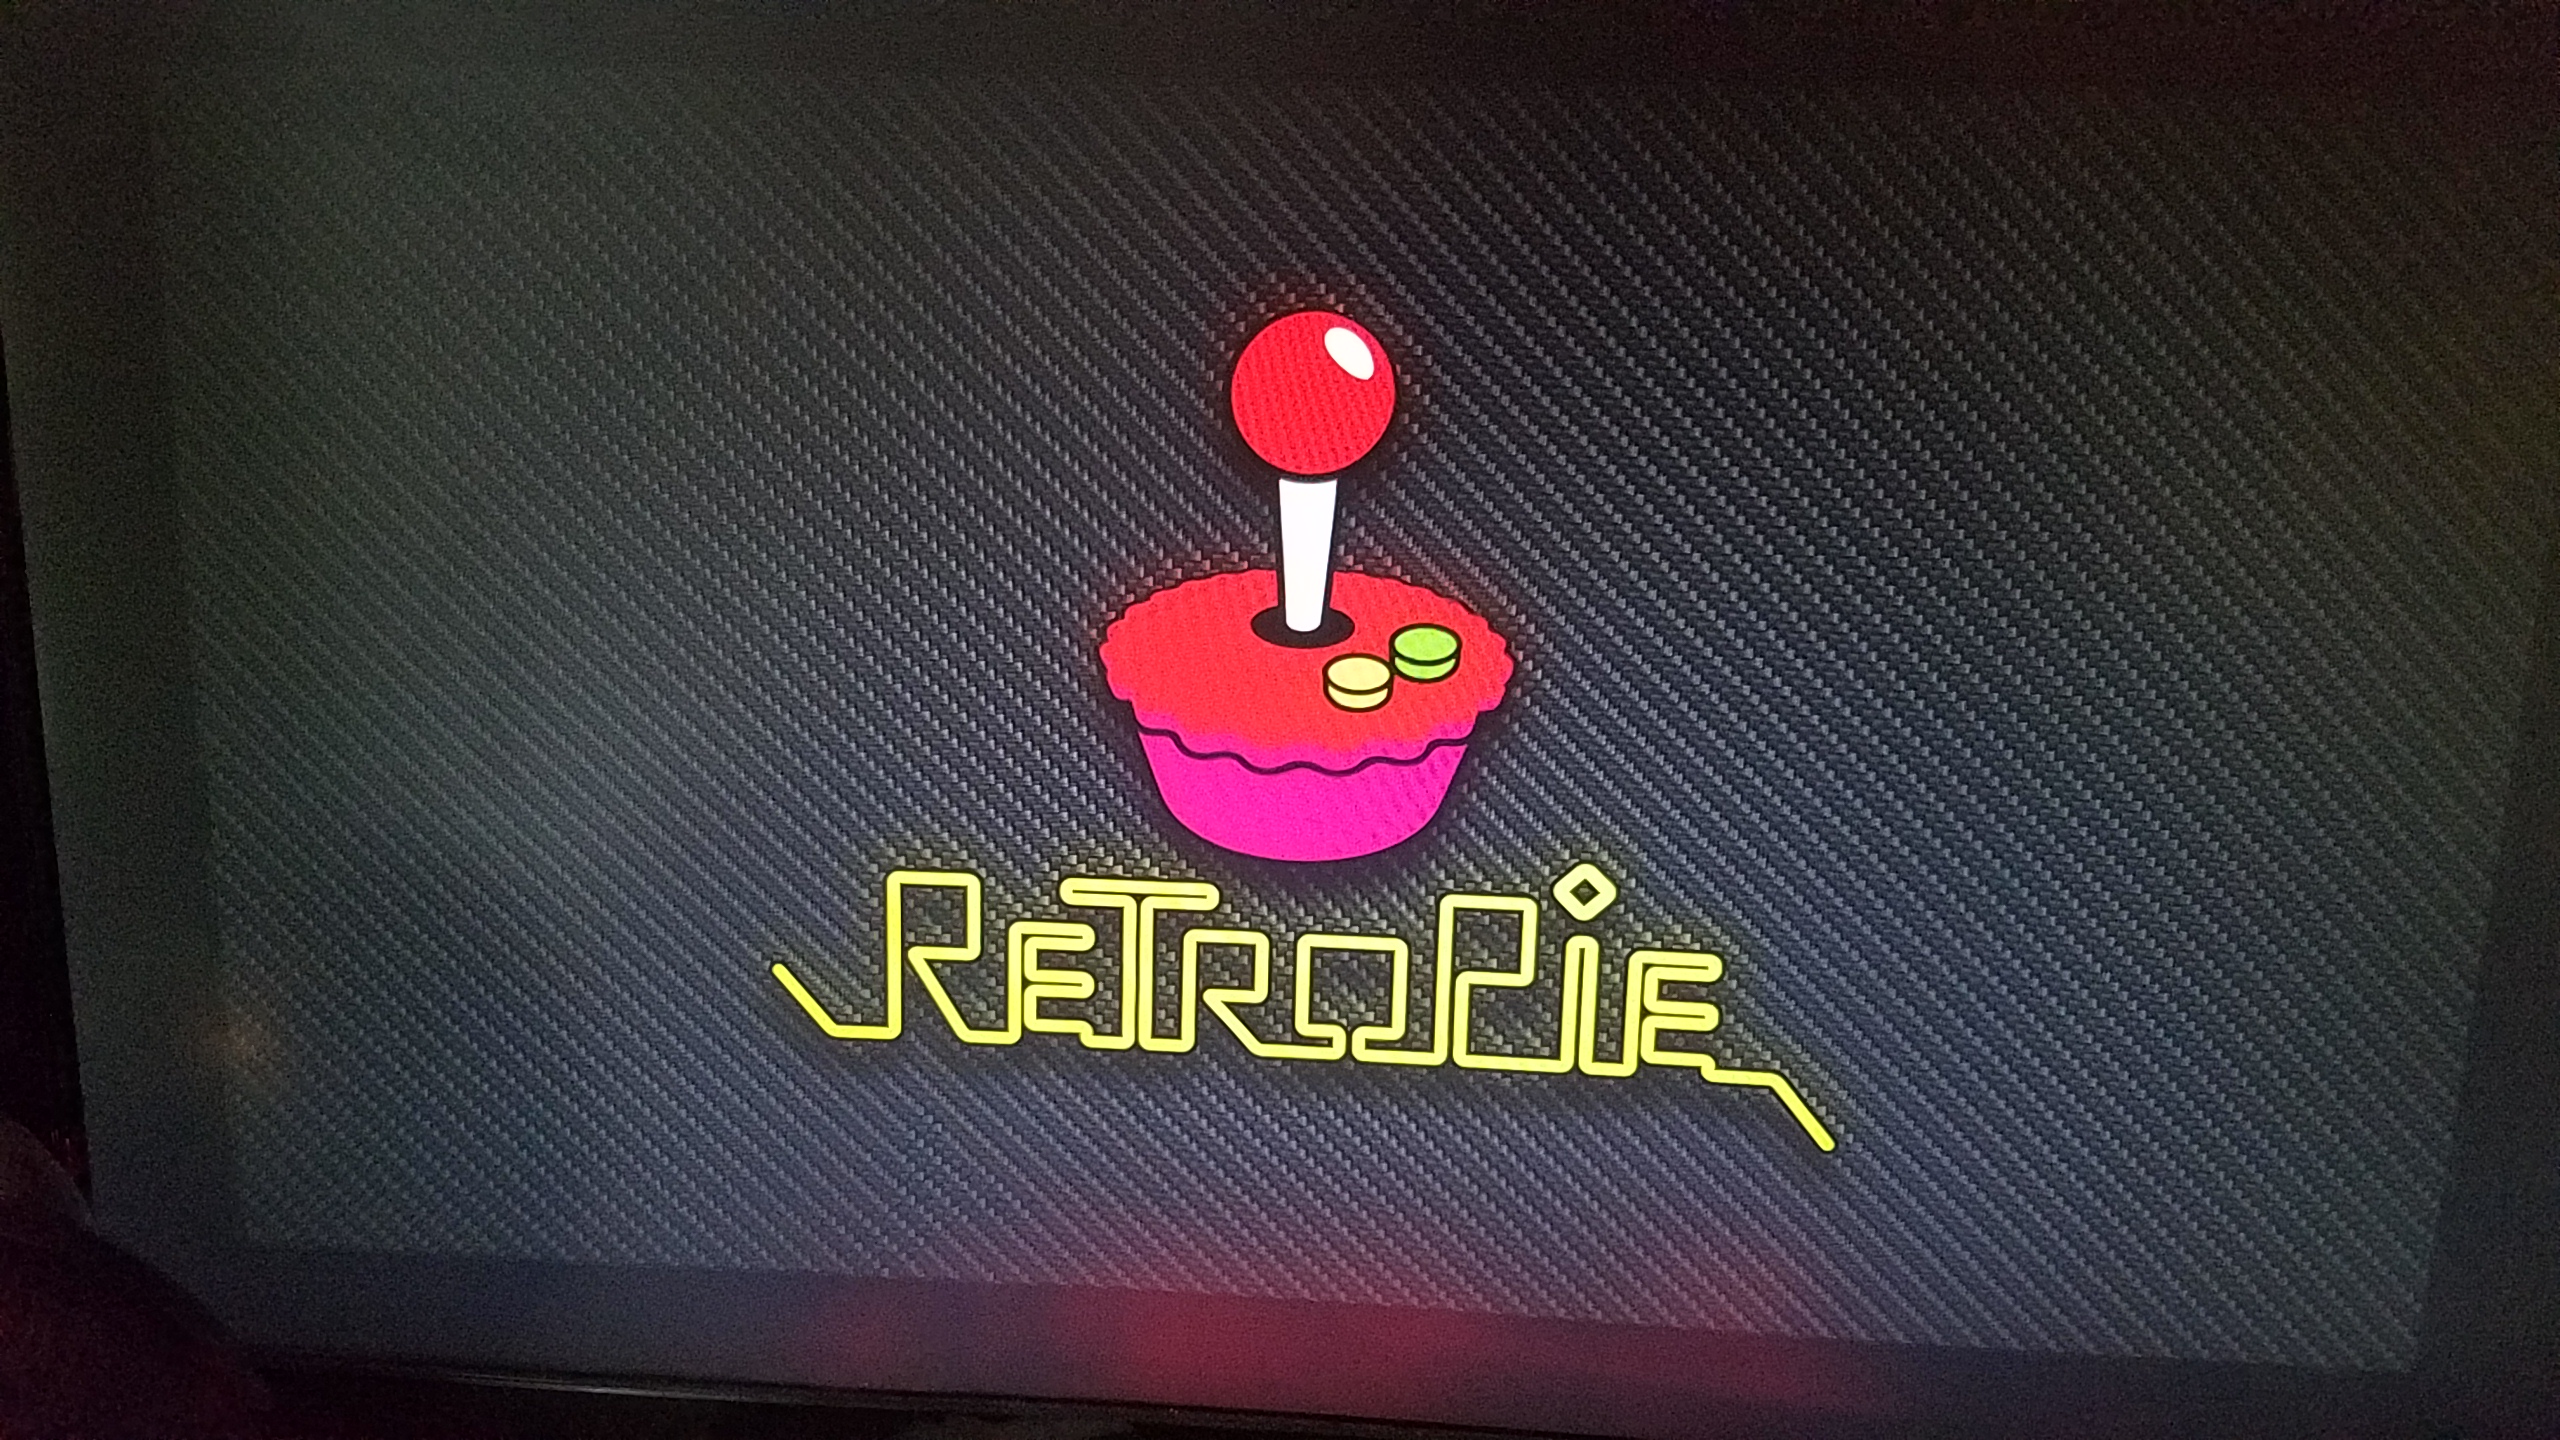
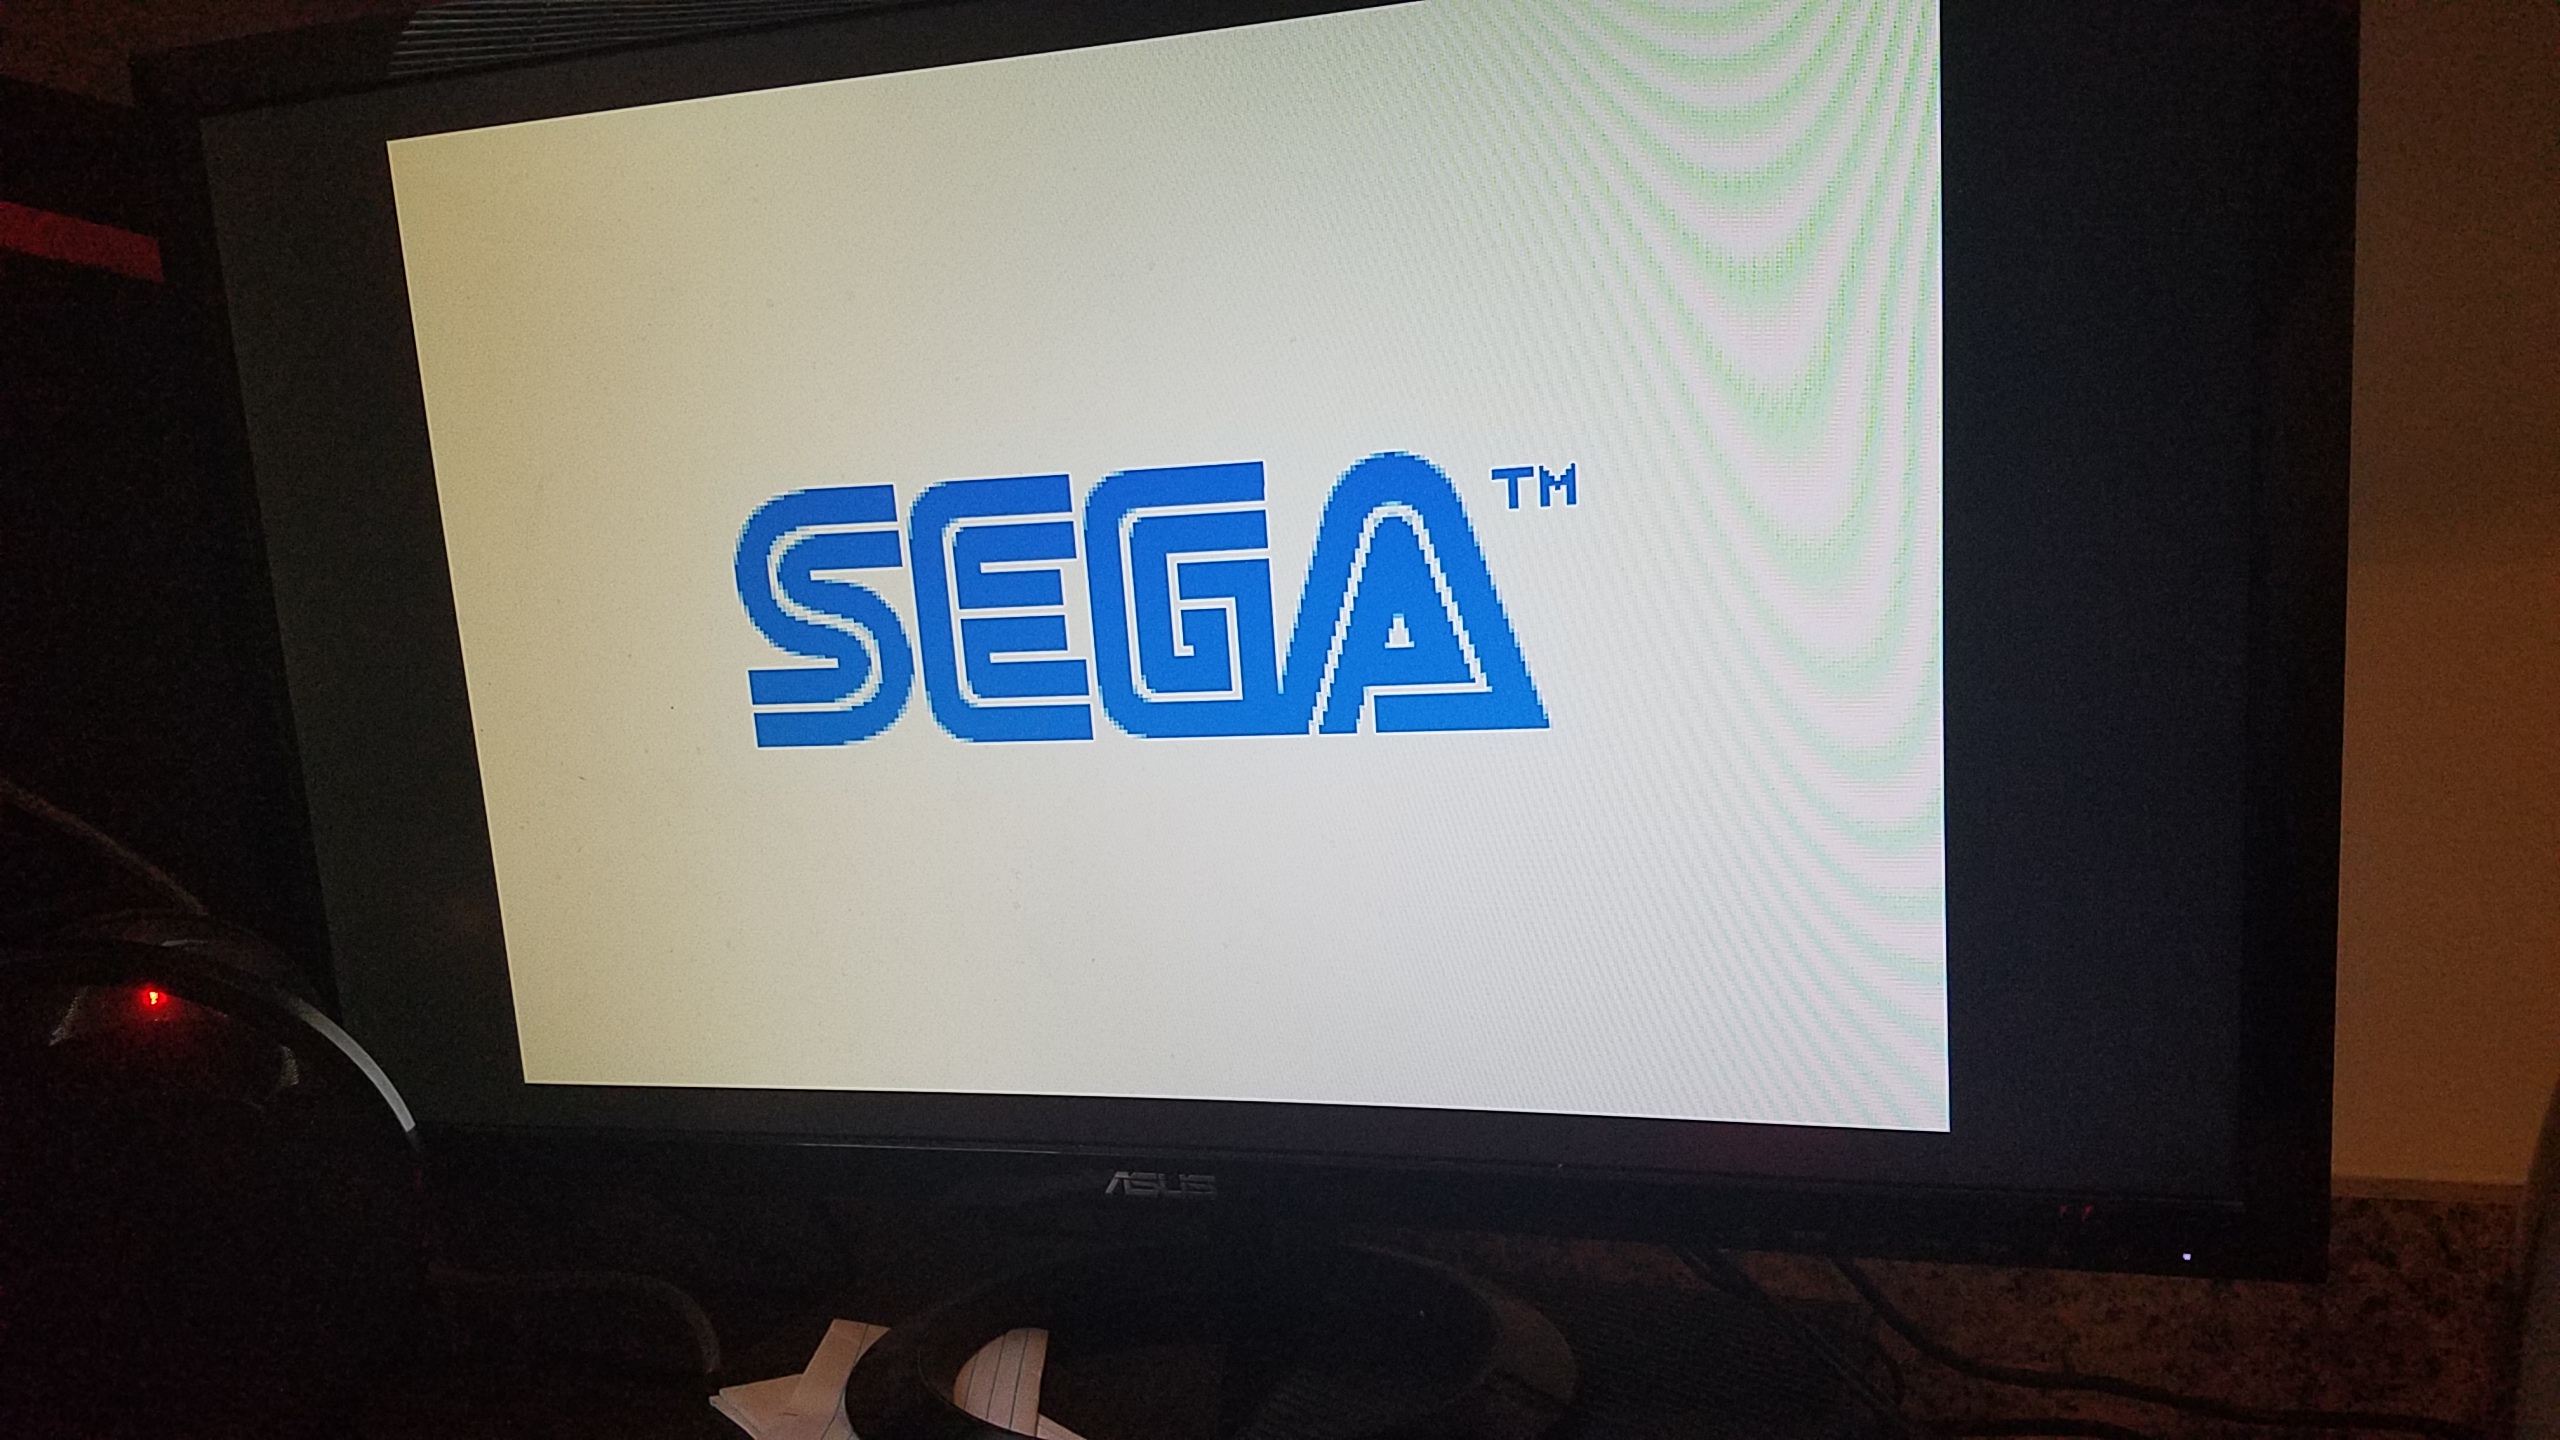
Enter RetroPie! An awesome, free OS for Raspberry Pi that is used to run retro game emulators and ROMs. I started by wiping my SD card so I could start fresh (so long Raspbian!). The method for which I was installing RetroPie is a bit different than the process for Raspbian, as the later could be installed using NOOBS, but the former required flashing to the SD card. For that, I used a neat little program called Balena Etcher that flashed the SD card in a matter of minutes.
Next, I turned on the Pi to see if it flashed correctly:
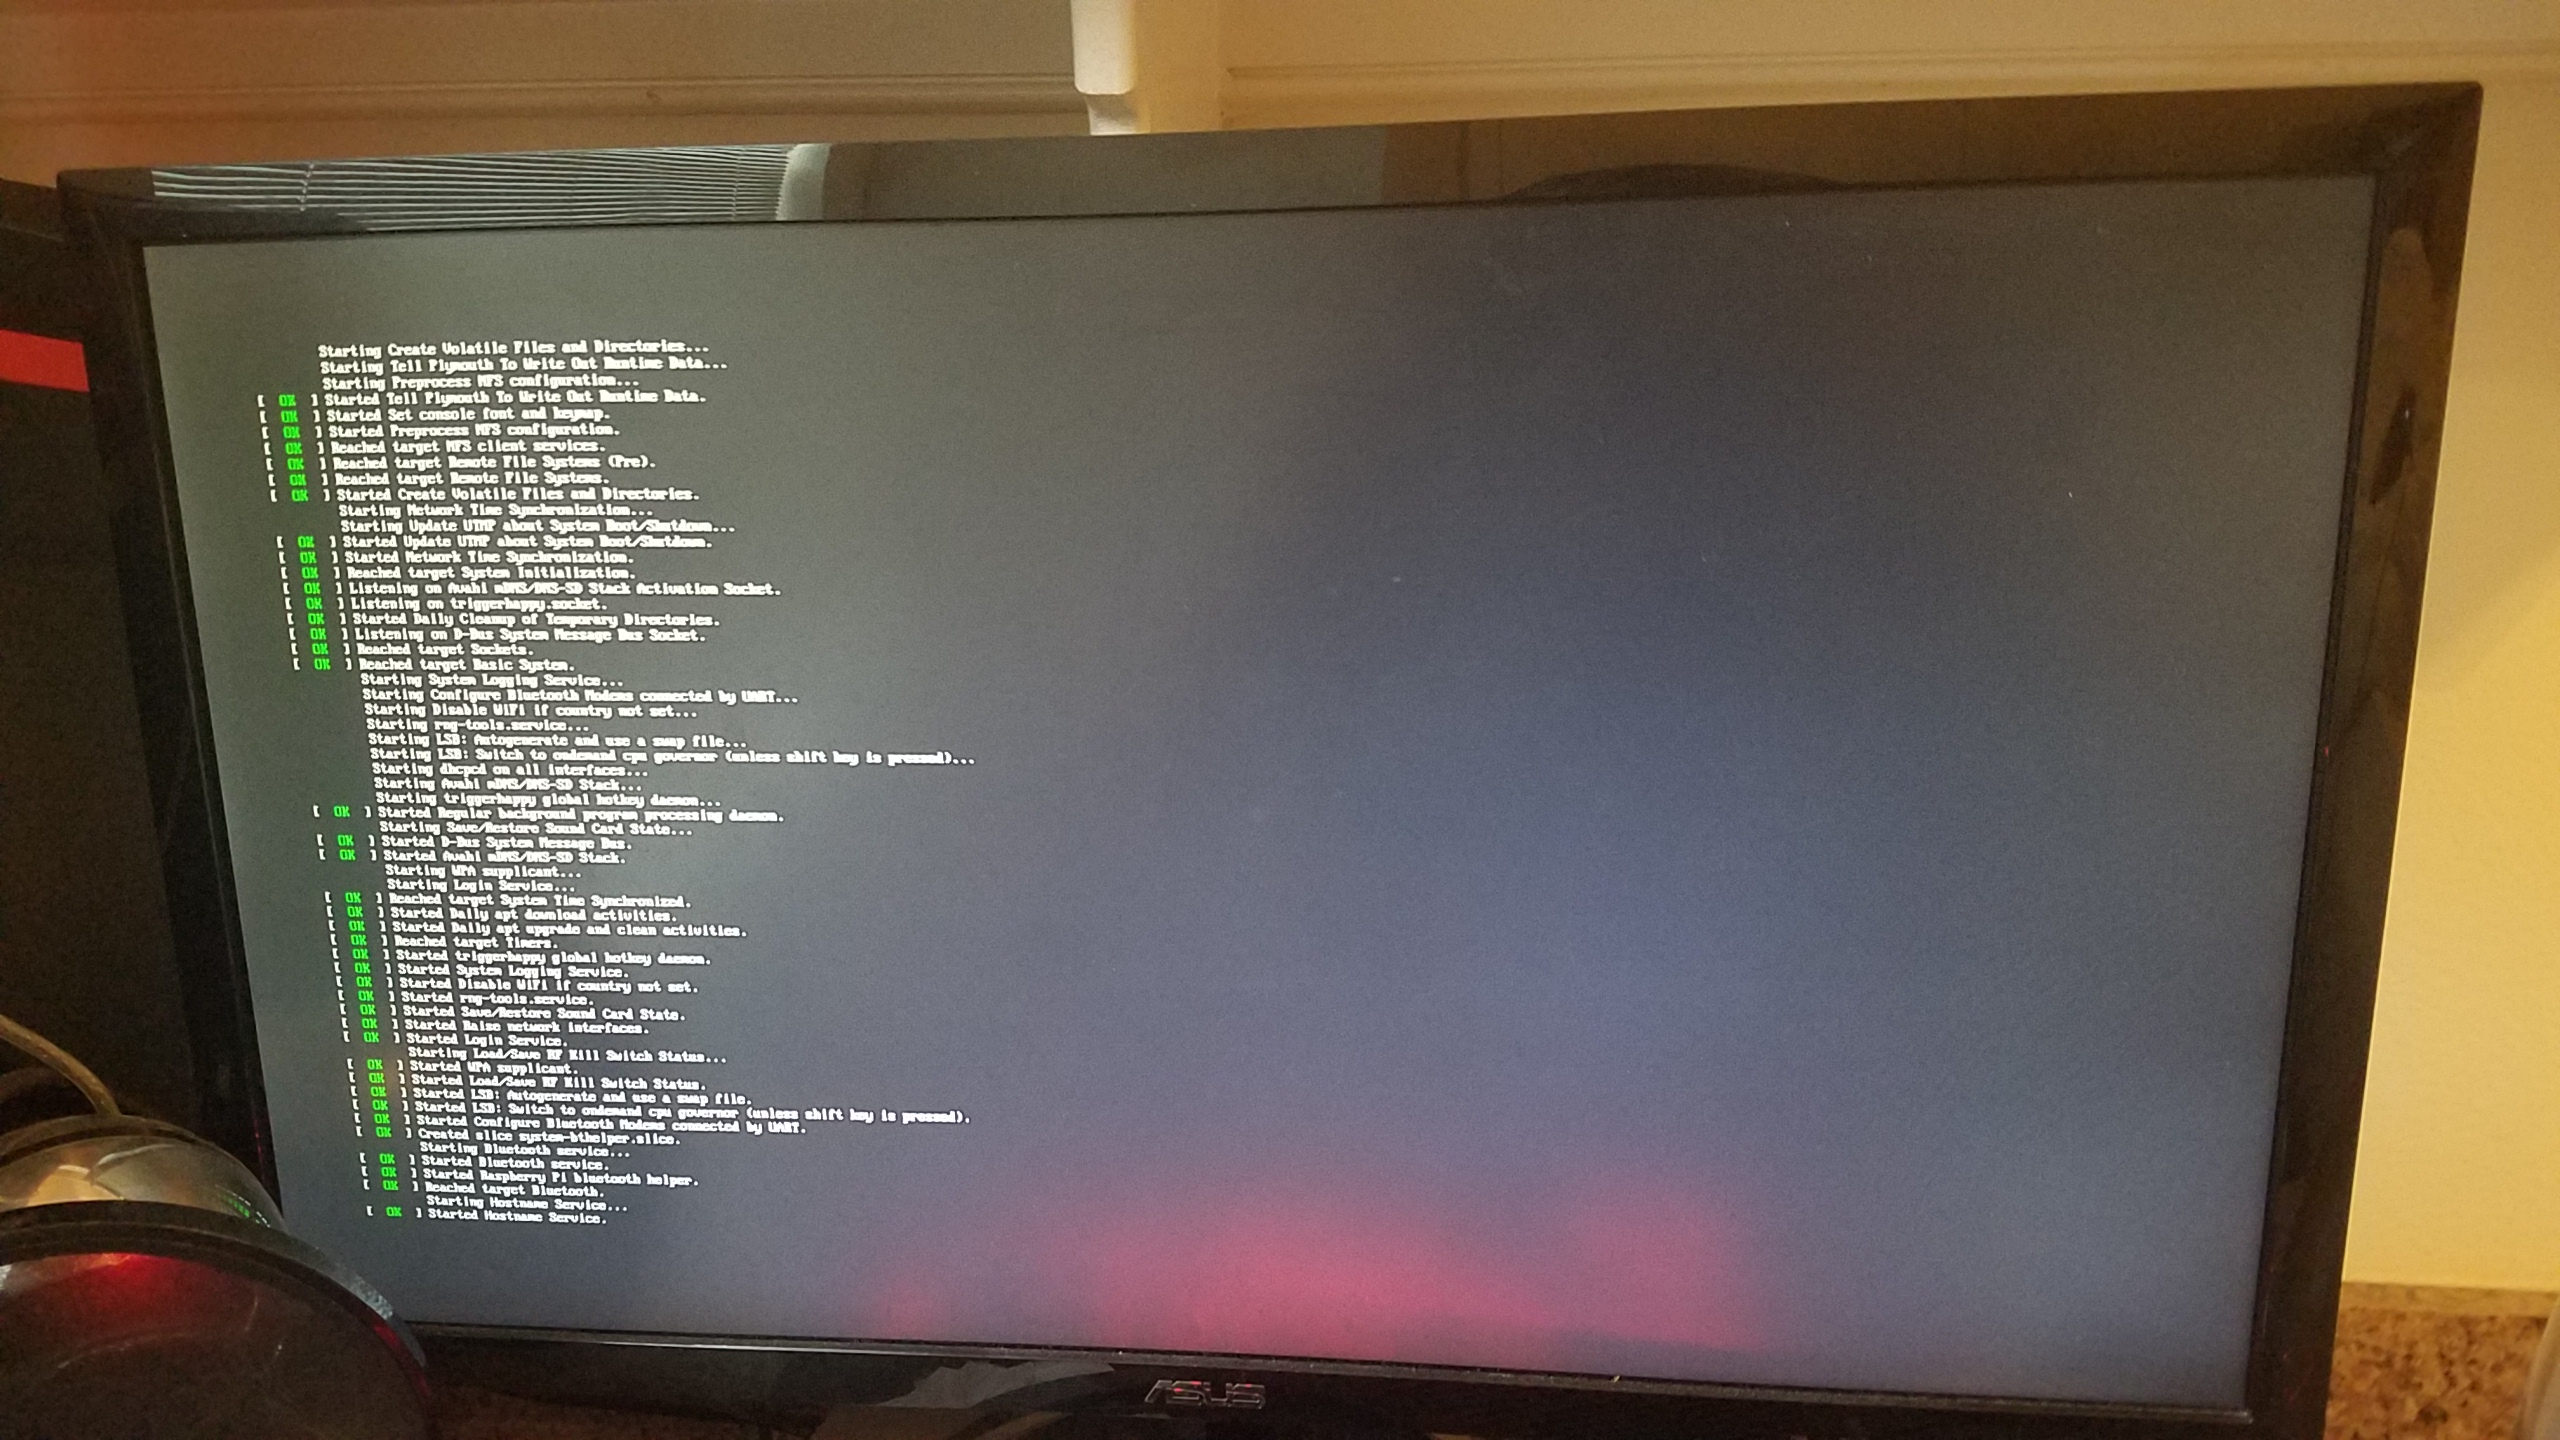
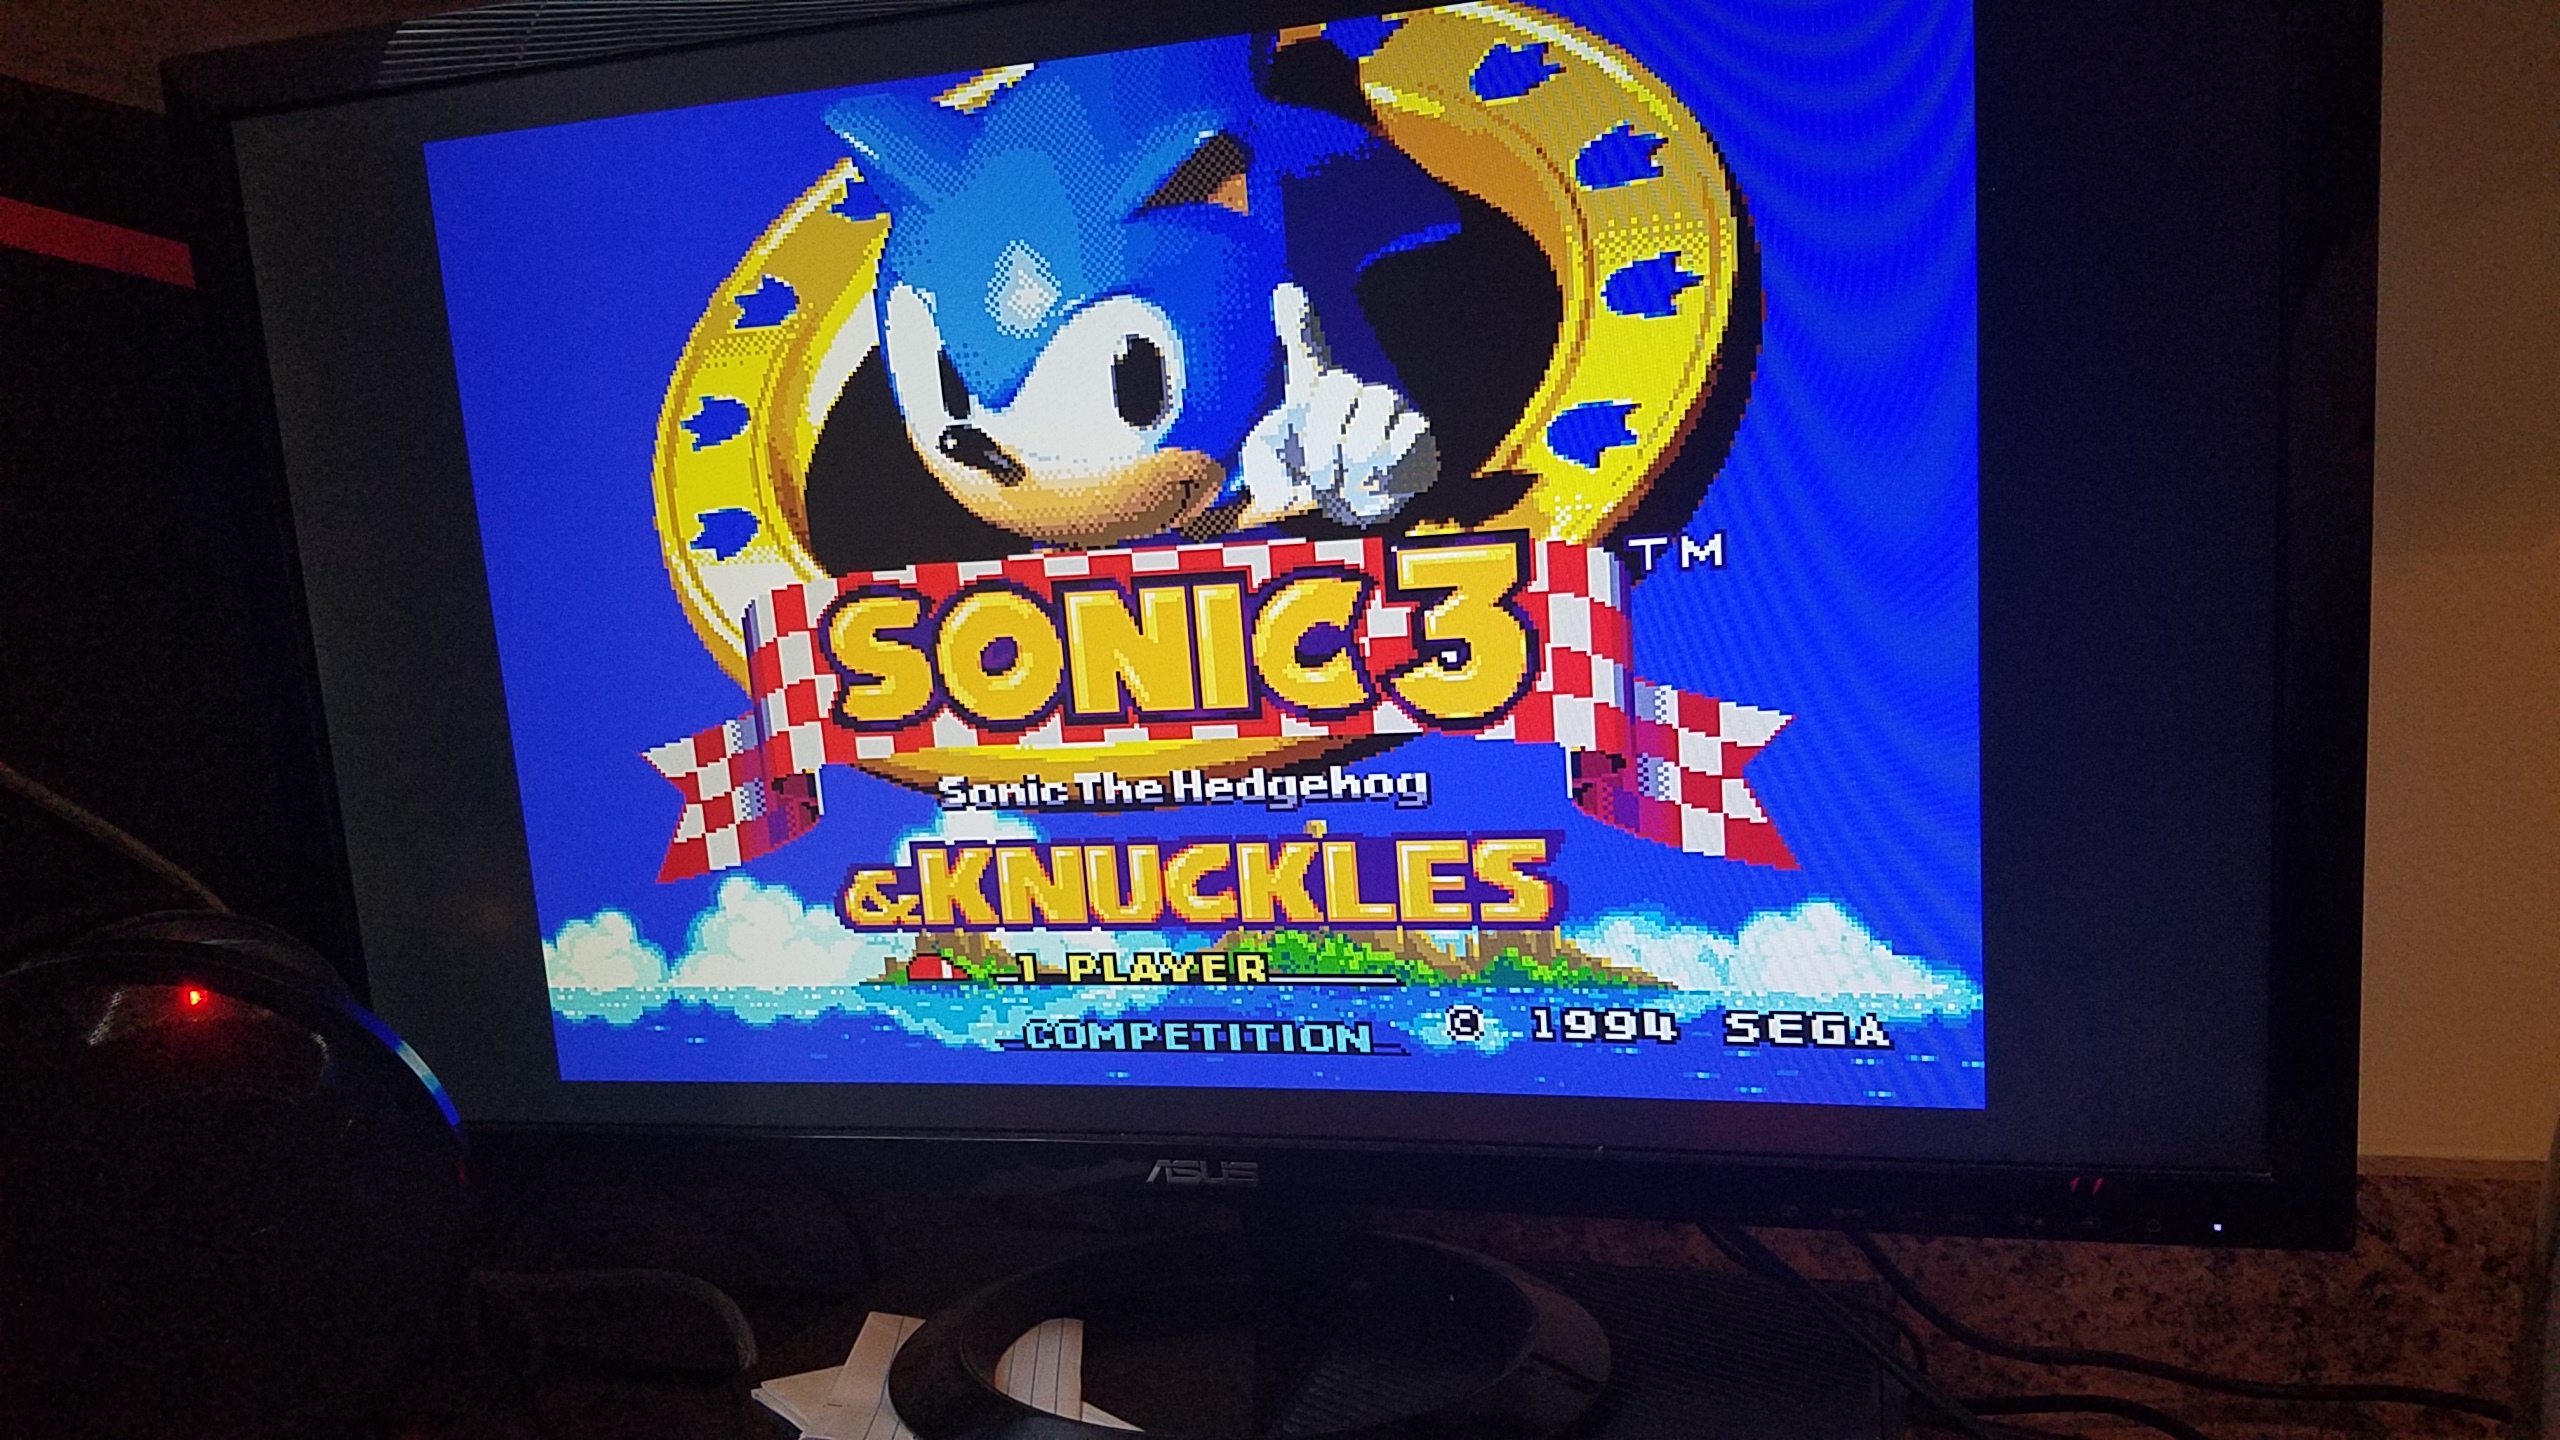
WOO! It was working! Now, to install some ROMs. Before I go any further, I would like to say that I do not condone pirating video games without supporting the creators behind doing so. Any ROMs I have on this system I own in some form or another and have purchased (usually multiple times in the case of Nintendo ROMs), so please, support your creators! With that being said, I acquired some ROMs and tried to put them on my Pi… which is where the beginnings of my troubles began.
So, RetroPie is really cool in that it can automatically add ROMs from a flash drive to your SD card… as long as you have the file system set up correctly. So, usually you need to add a folder to your flash drive titled ‘RetroPie’ and then stick it in your Raspberry Pi so that it can add the necessary folders to add ROMs to, but I was having problems: the files weren’t being generated! I tried leaving the flash drive in the Pi longer, re-formatting the drive, but to no avail. Welp, it turns out my problem was on (of course) my part, as I had labeled the folder as ‘RetroPi’ instead of ‘RetroPie’. Yea… that’s an hour of trouble shooting down the toilet.
Next was the easy part, adding the ROMs to the appropriate folders on the flash drive and then sticking the drive back into the Pi so it could add the files to the Pi. This part was really easy, as the folders are labeled by game system, so adding the ROMs was as simple as clicking and dragging. This does require a little bit of knowledge about the history of systems in different regions however. See, in 1989 when Sega launched their 16 bit system, they name it the MegaDrive and launched it globally as such… except for North America, for which it was named the Genesis (an arguably cooler name). When looking for the folder to add Genesis games to, you will see there is no such folder, that’s because you must add it to the MegaDrive folder, as the Raspberry Pi was made in the U.K. as well as RetroPie. However, I already knew the Genesis as the Mega Drive as I have an interest in the history of video games and retro hardware, so it wasn’t much of a problem for me.
After putting the ROMs on the flash drive, all I had to do was turn the Pi back on and insert the flash drive and then restart the system and WABAM: I had some games on my Pi!
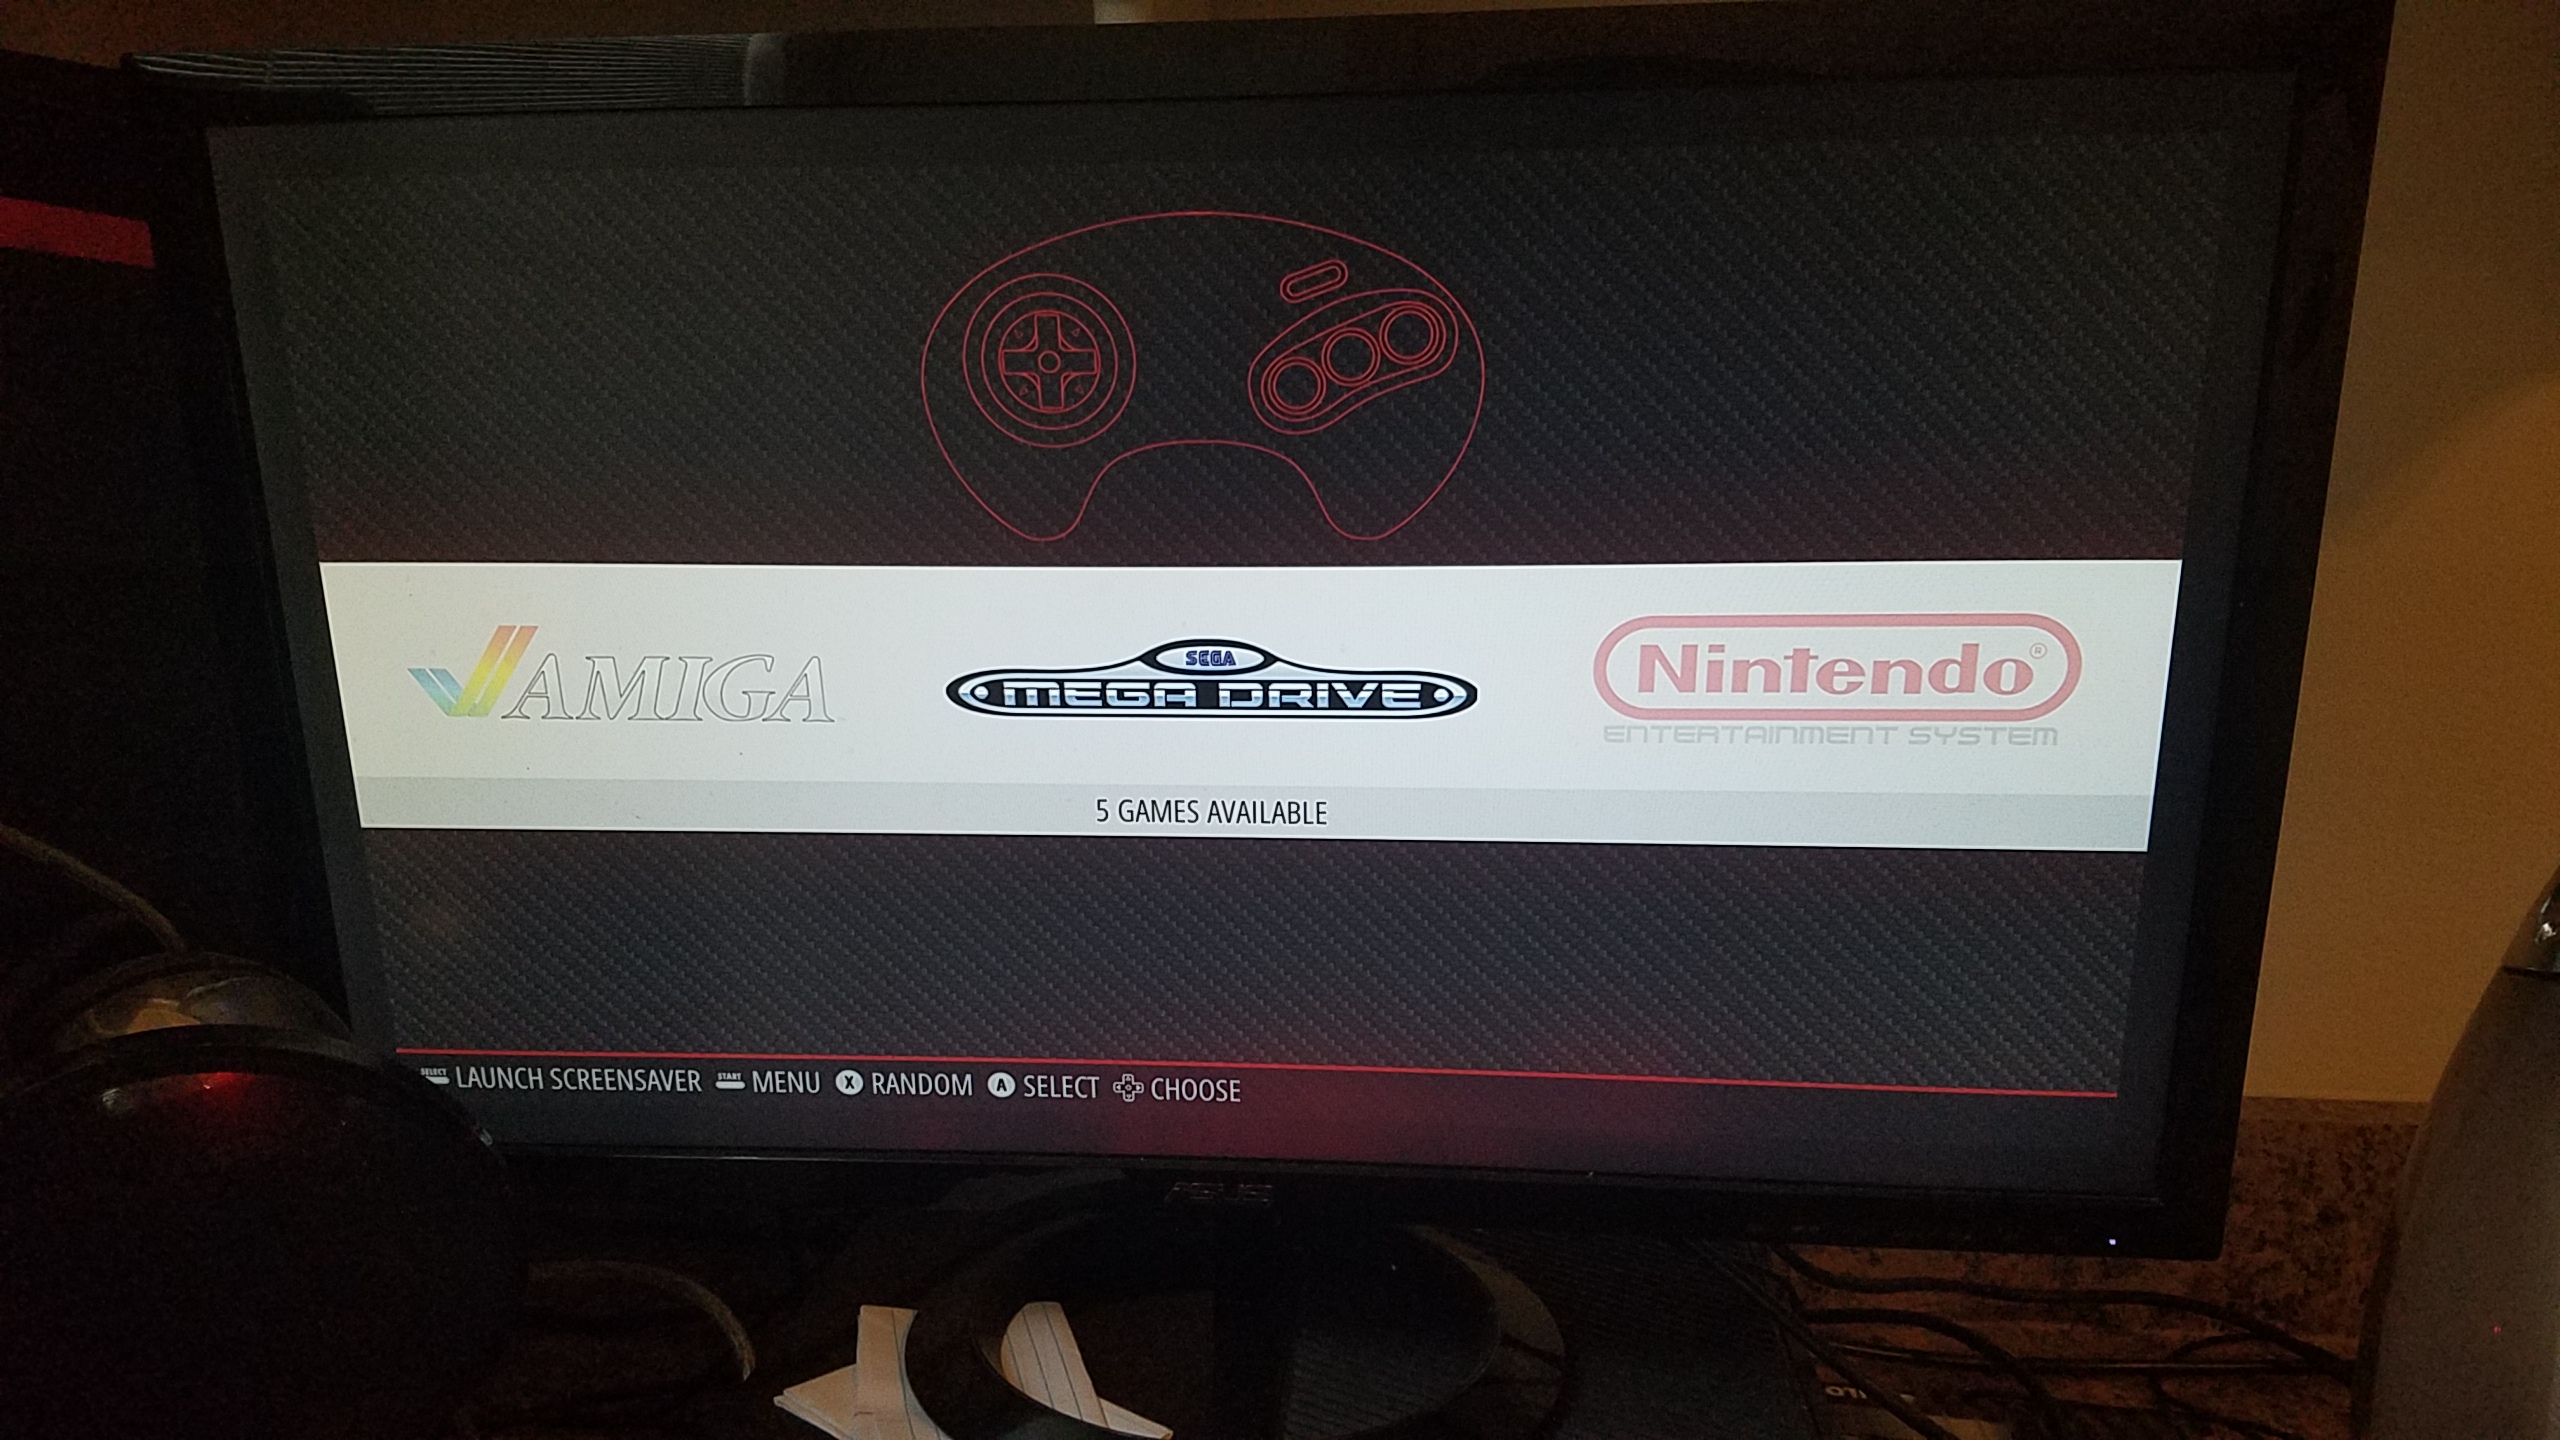
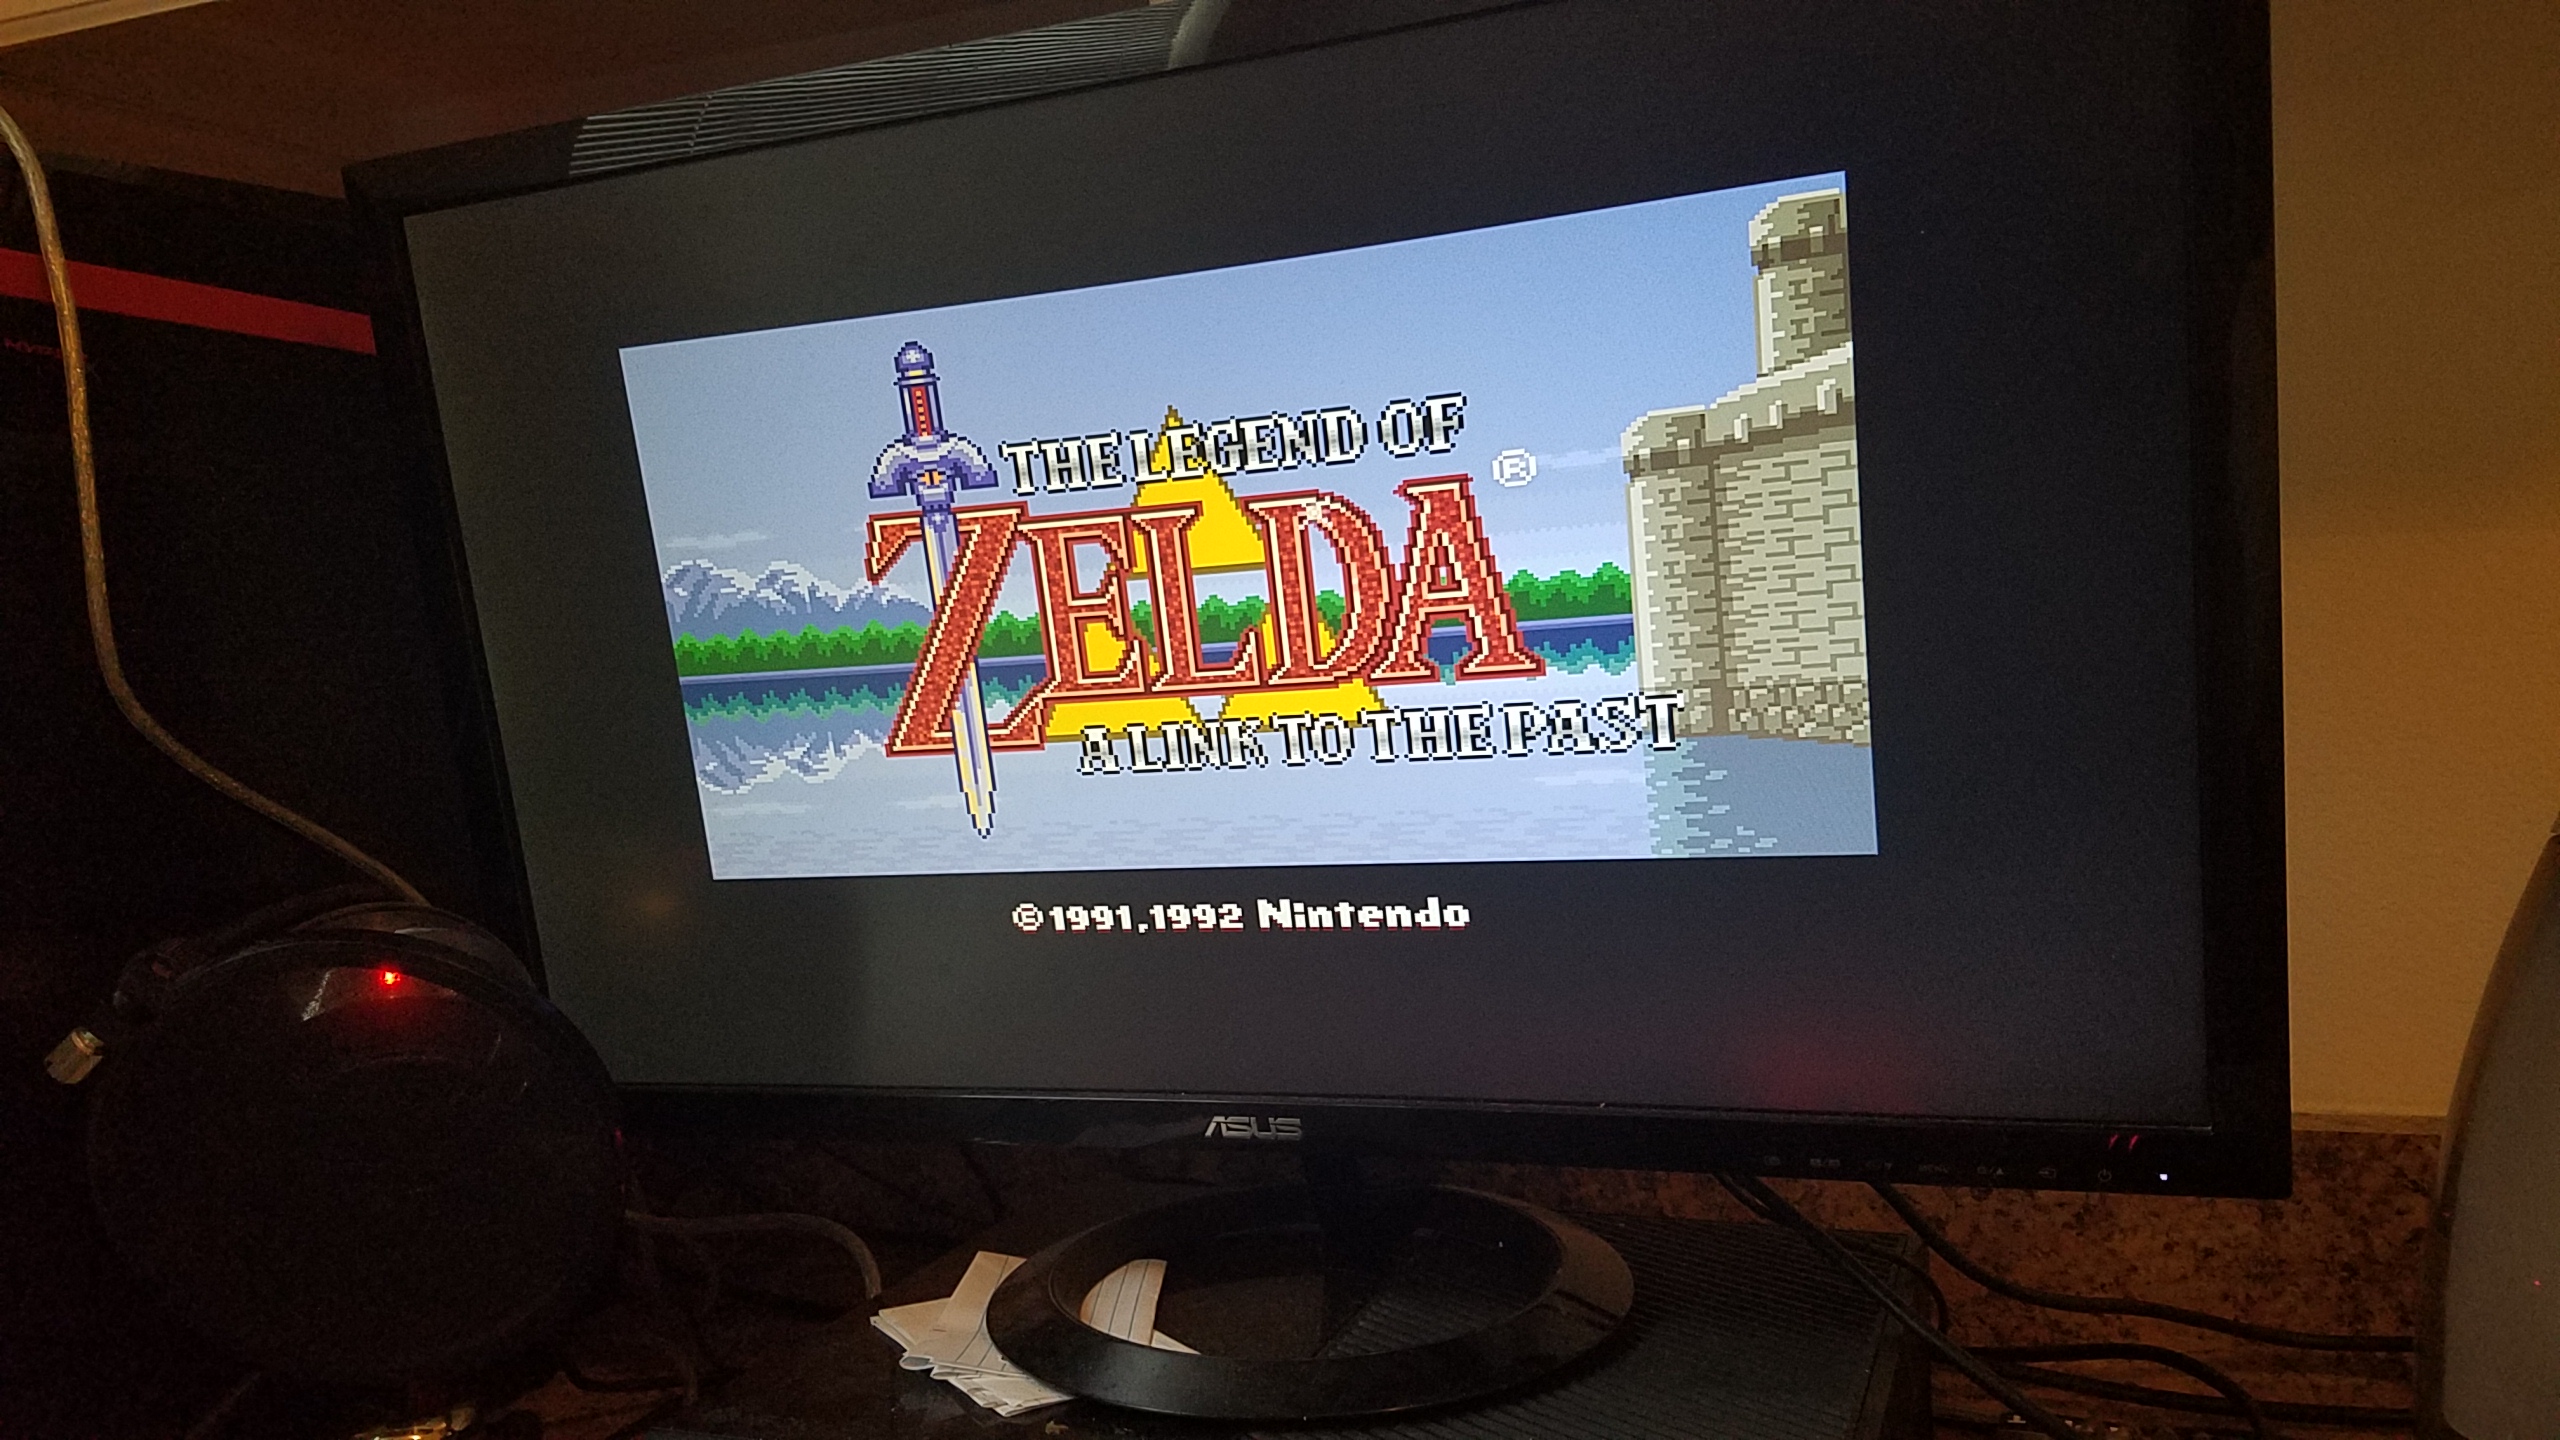
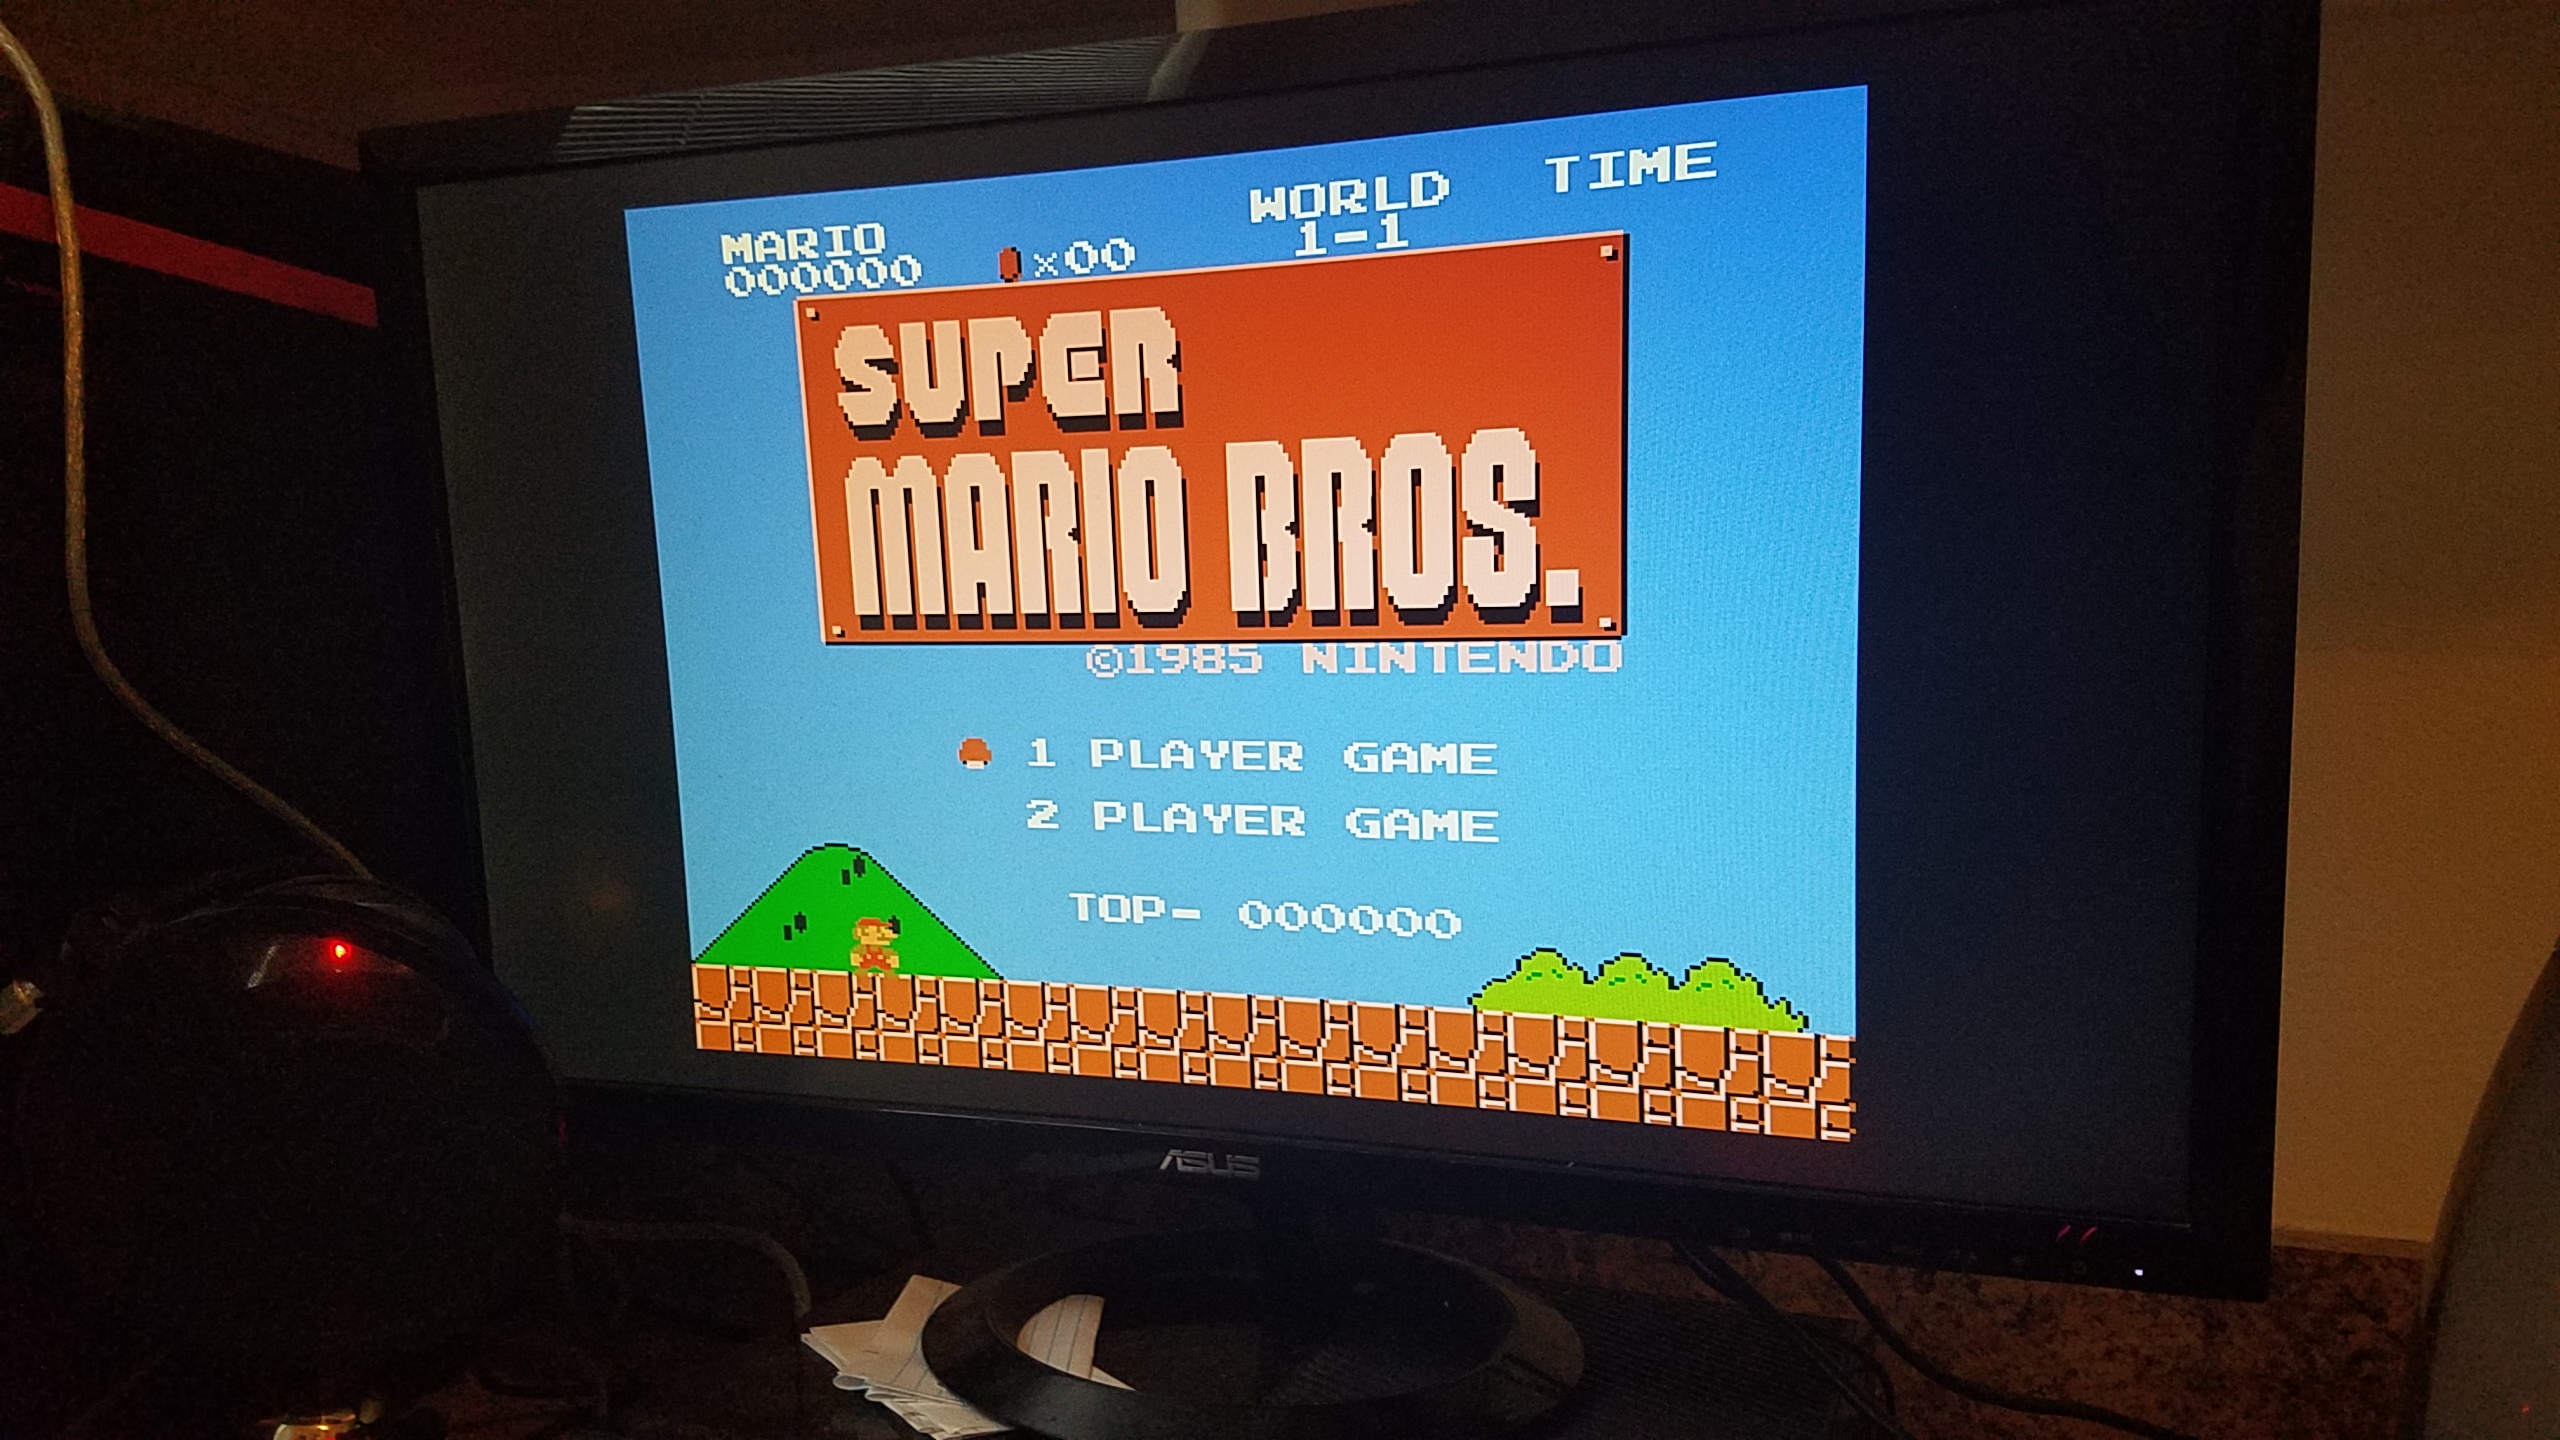
Also, what self respecting retro enthusiast wouldn’t have this original Super Mario Bros?
However, I noticed while trying out these games that I was running into a major issue: the quit game feature wasn’t working! Normally, you need to press start and select on a controller to quit a game and go back to the RetroPie menu, but for some reason, it wasn’t working on my system! I trouble shooted, reconfigured my controller inputs, but no dice. So, I took my problems to the only place I knew that could help me: internet forums. It turns out, the fastest was to fix my issue was to wipe my SD card and re-flash RetroPie on to my SD card, so I did. After doing so, all I had to do to get the games back on was to just stick the flash drive in the RetroPie and restart the system, as the folders and ROMs were already formatted correctly from before. After doing so, everything was finally working correctly!

Although this was a bit of a pain in the ass, I feel as though it was totally worth it. Being able to play games from yesteryear is an awesome experience, especially on a system that was one tenth of the size of some of the original consoles that it was emulating.
Well, that about wraps up part 1 of the two part finale that is this Emerging Tech blog. As always:
Cheers, Taylor Lundy
